HiveMQ Control Center v1 Trace Recordings
Your HiveMQ Enterprise MQTT broker can send and receives millions of MQTT messages over a short period of time. Sorting through all the information on your HiveMQ broker to understand the behavior of a specific MQTT client or topic can be a very time-consuming task. To simplify the process, HiveMQ gives you the ability to write log files for individual clients and topics.
A trace recording is a combination of filters that allows you to track the message activity of specific clients or topics and log information to a file in a human-readable format.
Each trace recording creates a .trace file in your HiveMQ log/recordings folder.
Trace recordings are created cluster-wide.
Each node in the HiveMQ cluster writes an individual trace file and stores the information in its own log folder.
You can apply a filter to log information for any MQTT message that your HiveMQ broker sends or receives.
A filter can either be a client identifier or a topic.
Many filter combinations are possible.
All filters are regular expressions.
To add a trace recording, navigate to the Trace Recordings view of your HiveMQ Control Center and select .
For more information, see Add new Trace Recording.
All trace recording log files are stored as trace-recording-name.trace in the hivemq/log/recordings folder of the HiveMQ instance.
|
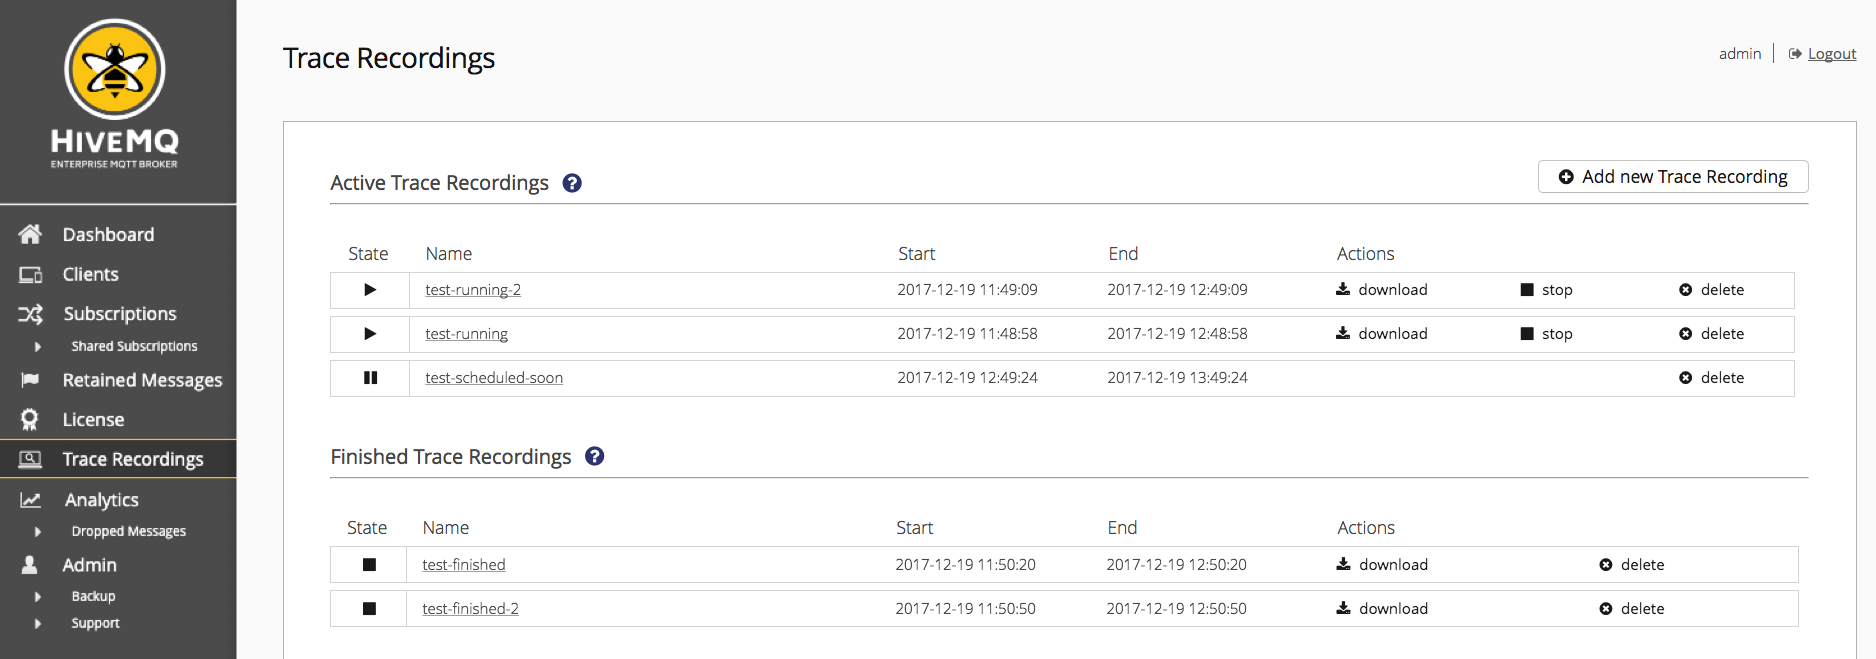
| Attribute | Description |
|---|---|
State |
Running |
Name |
The name of the trace recording log file |
Start |
The date when HiveMQ begins to record messages for the selected trace recording |
End |
The date when HiveMQ stops to record messages for the selected trace recording |
Active Trace Recordings
A trace recording is considered active when the recording is in a
Running  or Waiting
  state.
Active trace recordings can be viewed, downloaded, stopped, and deleted.
To view a trace recording, select the recording name in the overview.
For more information, seeTrace Recording Details.
To download a trace recording, select ⇒ .
For more information, seeDownload.
To stop a trace recording, select ⇒ .
| A stopped trace recording remains available in your HiveMQ log/recordings folder and is visible on the Finished Trace Recordings overview, but cannot be restarted. |
To delete a trace recording, select ⇒ .
| A deleted trace recording is no longer visible on the overview. All log files related to the trace race recording are permanently removed. |

Add New Trace Recording
To add a new trace recording, select .
The following information must be specified: Basic Settings, Filters, and MQTT Packets.
When you add a trace recording, you have the option to or schedule the recording.
If the start date is in the future, the trace recording can be scheduled.
If the start date is immediate or in the past, the trace recording starts instantly.
Trace Recording Details
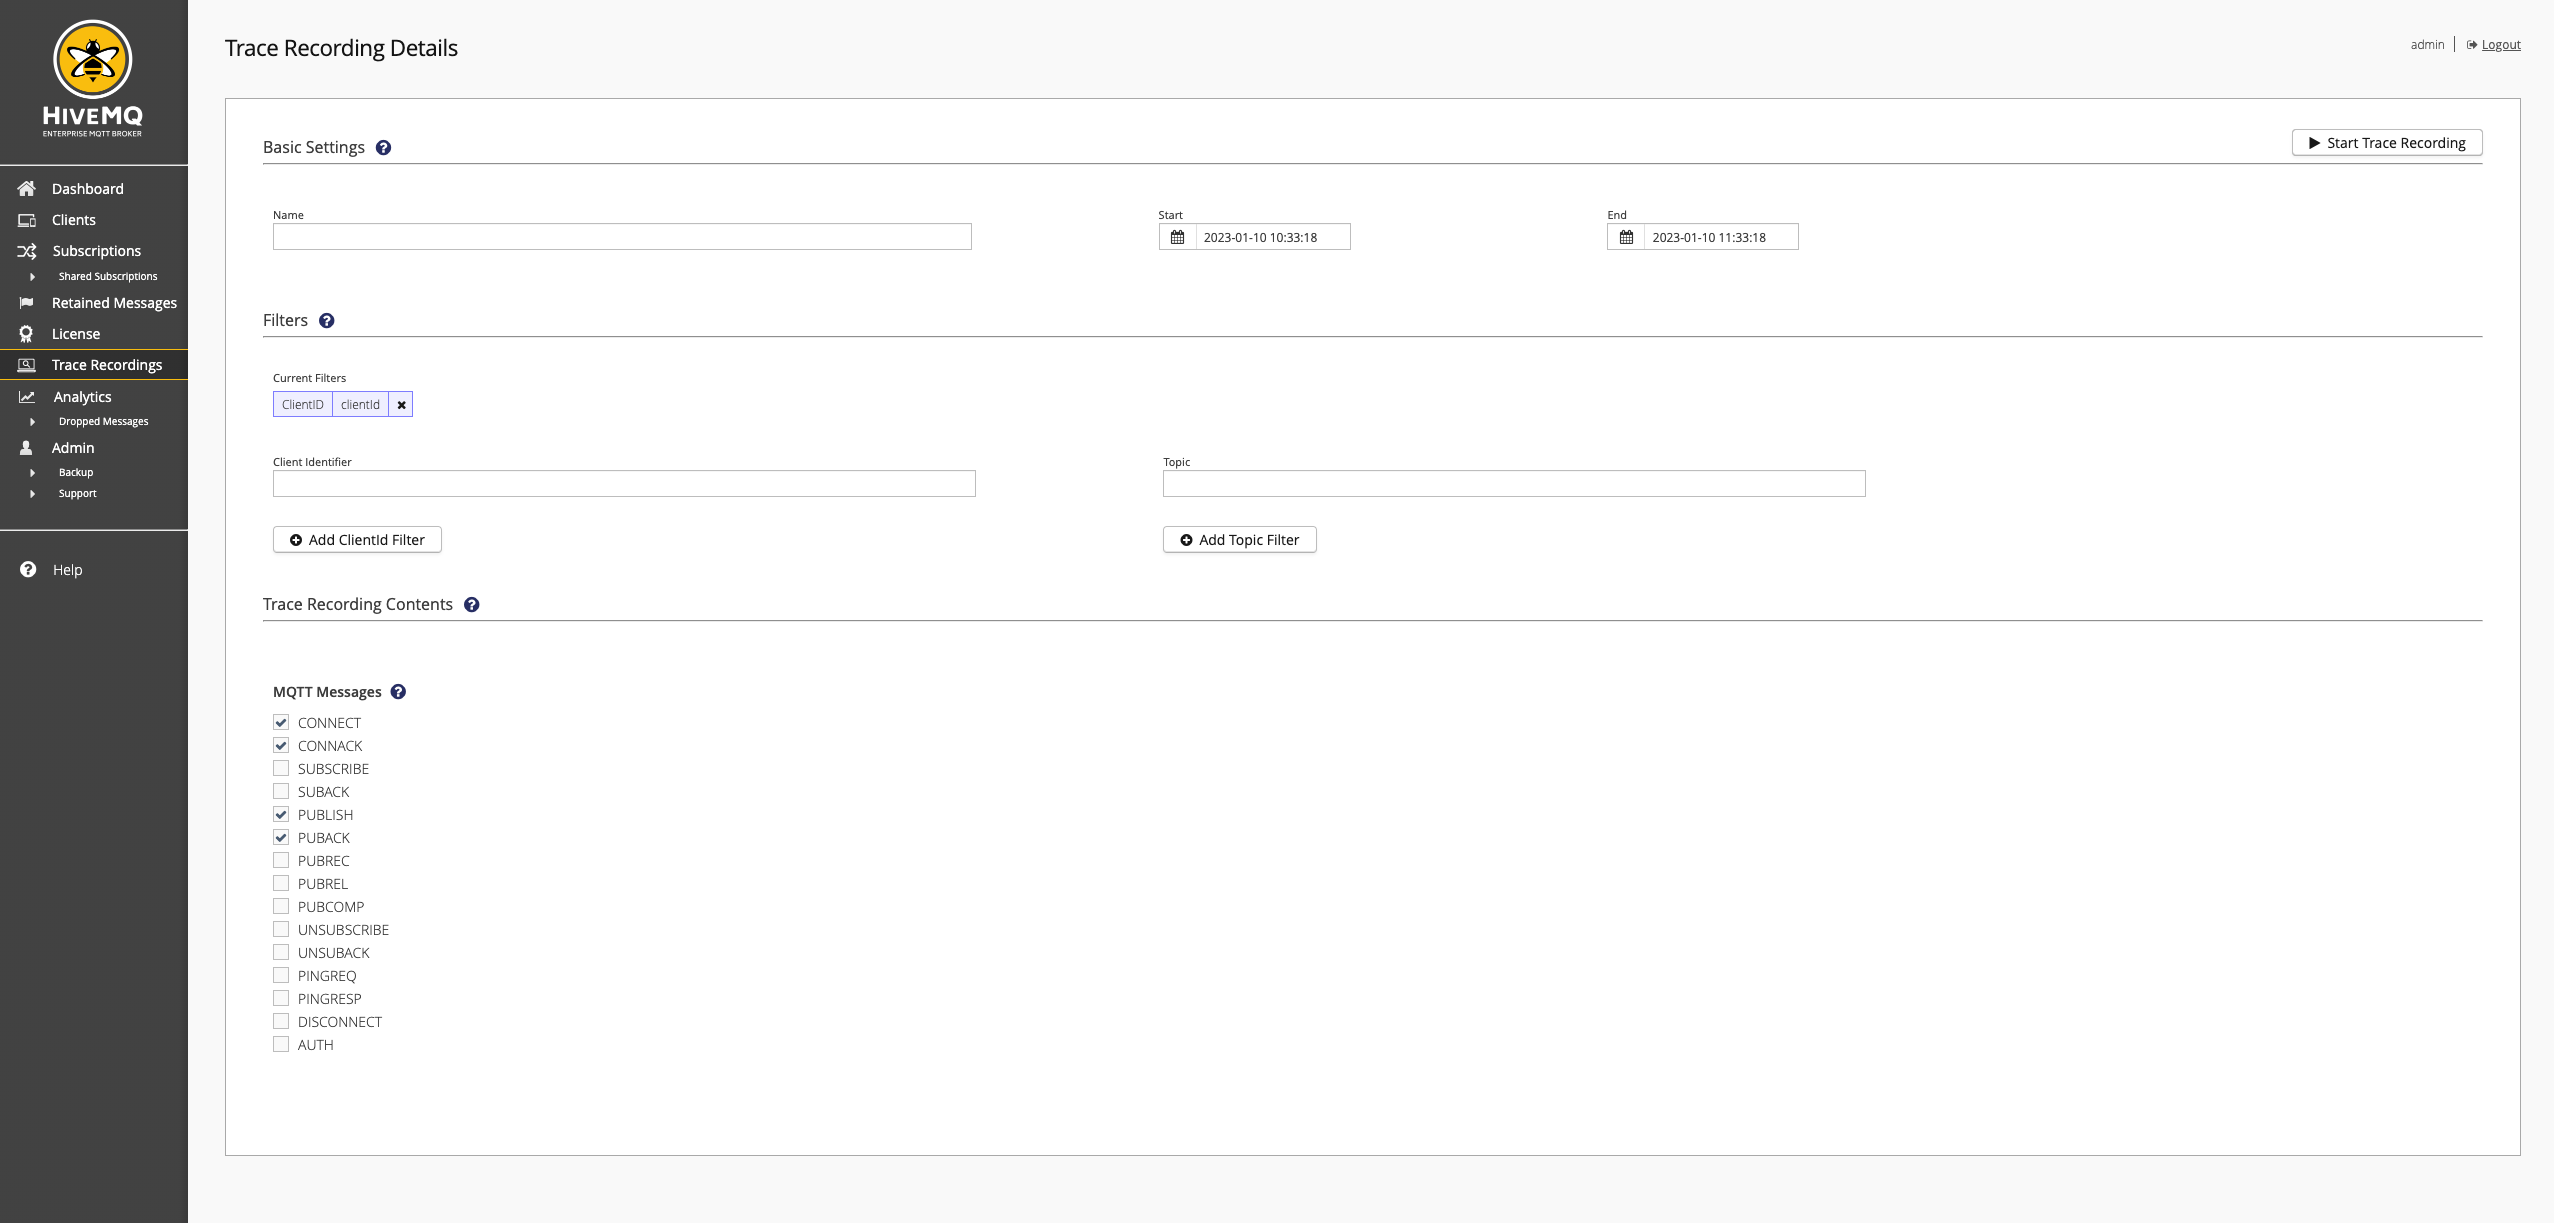
When you select the name of a trace recording, you are redirected to the Trace Recording Details page of the recording.
The details page lists Basic Settings, Filters, and Trace Recording Contents for the selected recording.
All information is read-only.
For more information, see Add New Trace Recording.
To stop an active trace recording, select ⇒  .
.
To download a trace recording, select ⇒  .
For more information, see Download.
| A stopped trace recording remains available in your HiveMQ log/recordings folder and in the Finished Trace Recordings overview, but cannot be started again. |
Basic Settings
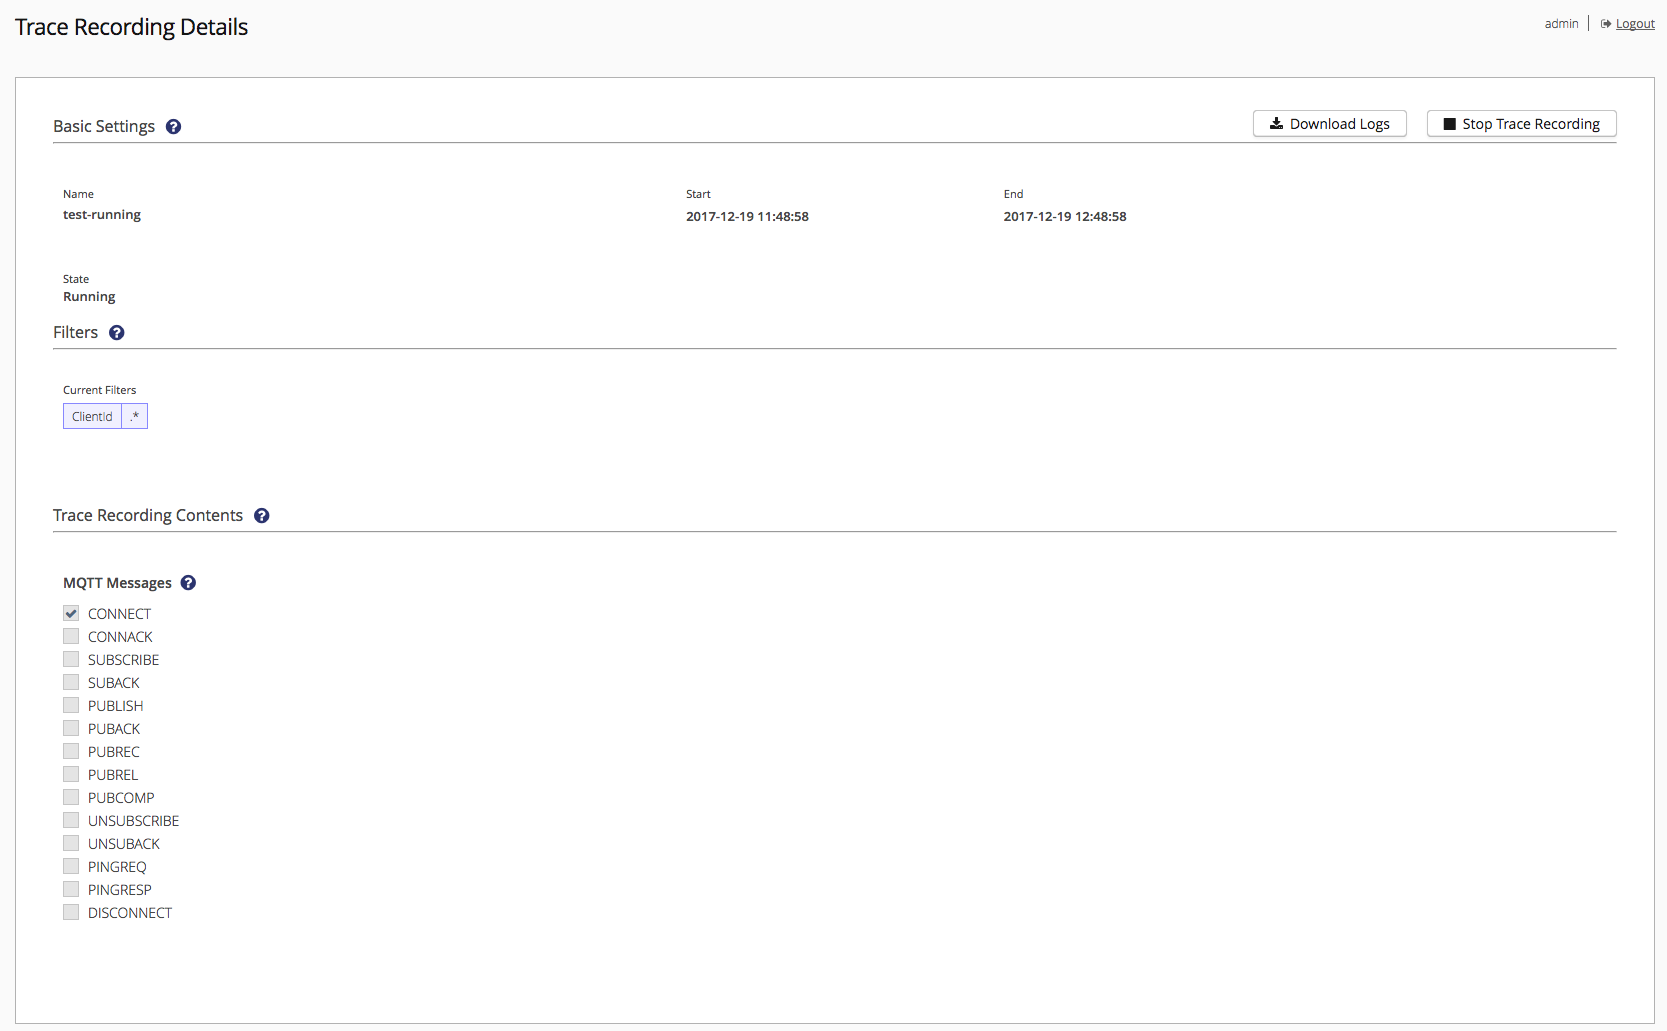
All fields in the Basic Settings section are required. If a field fails to validate, a red warning message displays below the corresponding input field.

Name
The name defines the filename of the .trace log file in your HiveMQ log/recordings folder.
The name must be unique and contain at least three characters.
Only combinations of numbers, letters, dashes, and underscores are allowed.
For example, publishing-clients or subscribe_my_topic_1 .
Start
When the start date is immediate or in the past, HiveMQ starts recording log messages immediately after successful creation of the trace recording.
When the start date is in the future, HiveMQ schedules the trace recording.
The default value is now.
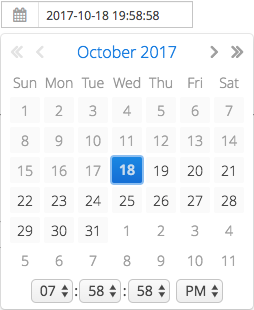
The start date must be before the end date and use the following format: yyyy-MM-dd HH:mm:ss.
For example, 2017-10-18 19:42:00.
If the start date is after the end date, you can either change the end date or the start date to make the date fields valid.
You can enter a date and time into the input field manually or select the calendar icon to choose a date and time.
End
The end date determines when HiveMQ stops the trace recording.
The default value is now plus one hour.
The end date must be in the future and after the start date and use the following format: yyyy-MM-dd HH:mm:ss.
For example, 2017-10-18 20:42:00.
You can enter a date and time into the input field manually or select the calendar icon to choose a date and time.

Filters
In the Filters section, you can add Client Identifier and Topic filters to the trace recording. At least one filter (ClientID or Topic) must be set. Filters are based on regular expressions.
| For more information, see Regular Expressions. |

You can combine as many ClientID and Topic filters as your use case requires.
Contents are recorded if at least one filter of each category matches.
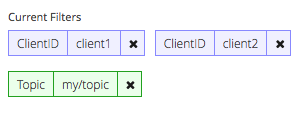
For example, if you set the ClientID filters client1 and client2 and a Topic filter my/topic, content is recorded for client1 and my/topic and for client2 and my/topic.
| Filter | Instructions |
|---|---|
Client Identifier: |
To add a Client Identifier filter, enter a regular expression in the field and select Enter or Add ClientID Filter. |
Topic: |
To add a Topic filter, type a regular expression in the field and select Enter or Add Topic Filter. |
To remove a filter, select "x" next to the filter you want to delete.
MQTT Packet Selection
You can define the type of MQTT messages that you want to trace.
MQTT messages are messages sent or received by MQTT clients and MQTT brokers.
| Client filters can be used to filter any type of MQTT message. Topic filters only apply to MQTT messages that contain the selected topic. Topic filters can be used to filter MQTT PUBLISH, SUBSCRIBE, and UNSUBSCRIBE messages. |
You can select from the following MQTT message types. At least one message type must be selected.

| Content | Description |
|---|---|
|
The first message the client sends to the broker when the client establishes a connection to the broker. |
|
The message the broker sends to the client to acknowledge the connection request of the client. |
|
A message the client sends to the broker to subscribe to one or more topics. |
|
The message the broker sends to the client to acknowledge the subscription request of the client. |
|
A message the client sends to the broker to publish data on a specific topic. |
|
The message the broker sends to the client to acknowledge receipt and successful processing of a PUBLISH message with QoS 1. |
|
The message the broker sends to the client to acknowledge receipt of a QoS 2 PUBLISH message. The PUBREC message is the first step in the QoS 2 publish/subscribe message flow. |
|
The message that the client sends to the broker to acknowledge receipt of a PUBREC message. The PUBREL message is the second step in the QoS 2 publish/subscribe message flow. |
|
The message the broker sends to the client to acknowledge receipt of the PUBREL message. The PUBCOMP message is the final step in the QoS 2 publish/subscribe message flow and confirms that the PUBLISH message with QoS 2 was processed successfully. |
|
A message the client sends to the broker to remove a subscription to one or more topics. |
|
The message the broker sends to the client to acknowledge the unsubscribe request of the client. |
|
A keep-alive message the client sends to the broker to indicate that the client is still connected and to prevent the broker from closing the connection due to inactivity. |
|
A keep-alive message that the broker must send to the client to upon receipt of a PINGREQ message to confirm that the broker is still available and connected to the client. |
|
The message a client sends to the broker to gracefully end an existing connection to the broker. |
| To learn more about MQTT and MQTT message types, we highly recommend our MQTT Essentials series. |
Finish Trace Recording Creation
After your trace recording configuration is complete, you can select "Start/Schedule Trace Recording" to start or schedule your trace recording. HiveMQ automatically validates your settings. If an error is detected, a notification with the invalid settings displays:

If everything is configured correctly, a confirmation with a duration is shown.
To stop the trace recording process, select Cancel.
To confirm the trace recording and return to the Trace Recordings overview, select Start/Schedule.

Finished trace recording log files are located in your hivemq/log/recording folder.
|
Finished Trace Recordings
Trace recordings in a
Stopped  or Aborted
  state are considered finished.
Finished trace recordings can be viewed and deleted.
To view a trace recording, select the name of the recording.
For more information, see Trace Recording Details.
Download a trace recording by clicking ⇒ .
For more detail, have a look here: Download
Delete a trace recording by clicking ⇒
| A deleted trace recording is not visible anymore. All log files of the recording are deleted from disk. |

Download a Trace Recording
Every running, stopped, or aborted trace recording can be downloaded as a ZIP file.
The download file contains one folder per node with every requested trace recording file.
To download a trace recording, select ⇒ .
-
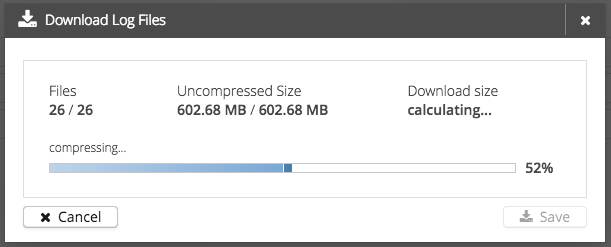
When the trace recording is in a running state, all trace files are copied into a temporary folder.
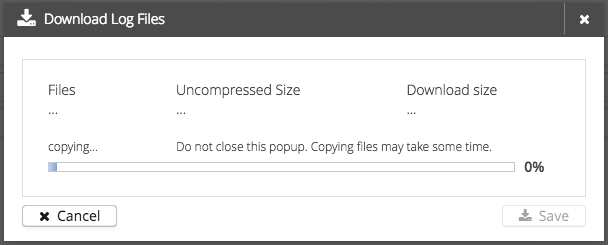
-
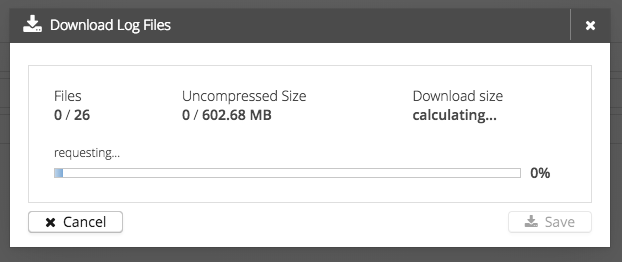
The trace recording files from each cluster node are requested and temporarily stored.
-
The trace recording files are saved in ZIP file.
-
After the ZIP file is created, the temporary files are deleted.

To cancel the download process, select Cancel.
When the download is complete, you can save the ZIP file to your local file system or close the window.
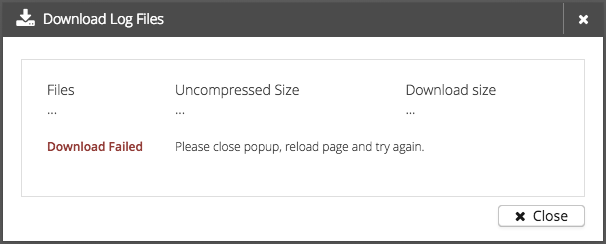
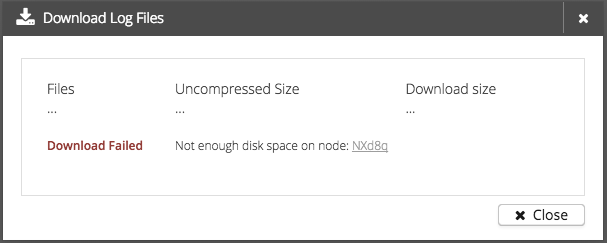
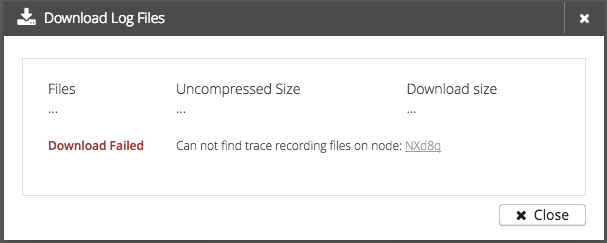
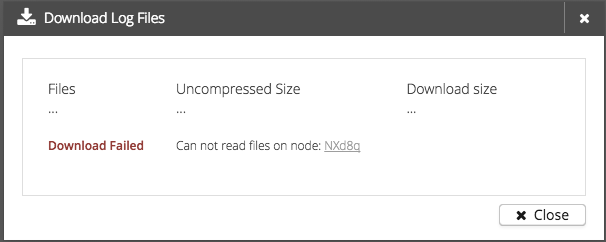
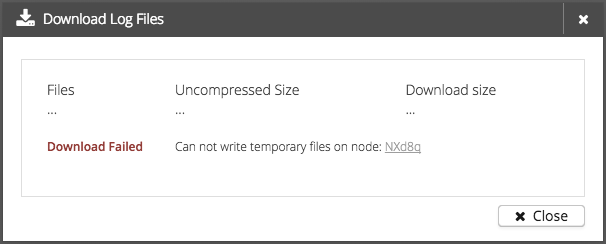
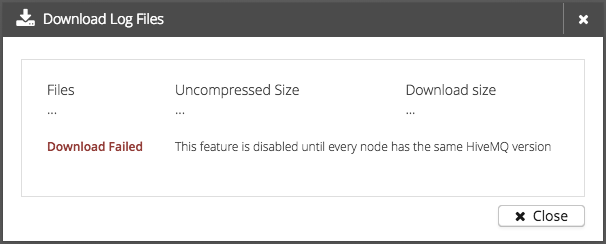
If an error occurs during the download process, HiveMQ provides a warning message with additional information.
Possible warning messages include the following:
-
Not enough disk space (At least 100 MB must be free on every cluster node)
-
Files not found
-
Unable to read files on a node
-
Unable to write files to a node
-
The tracing feature is disabled during rolling upgrade
-
An internal error
